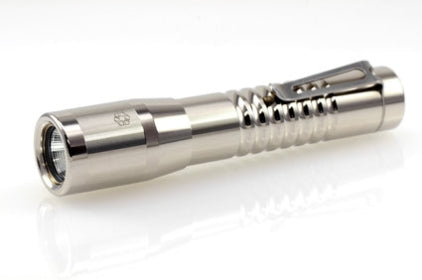
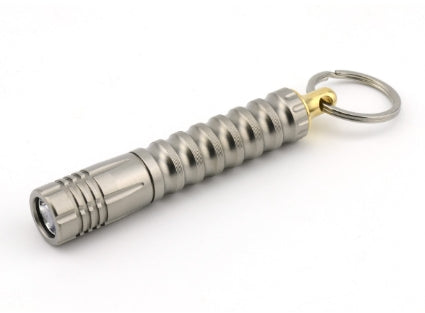
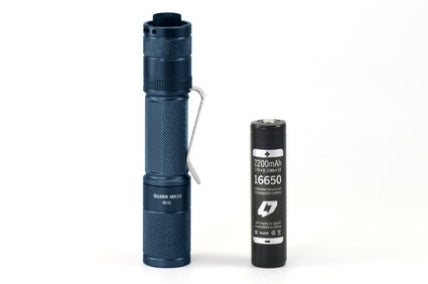
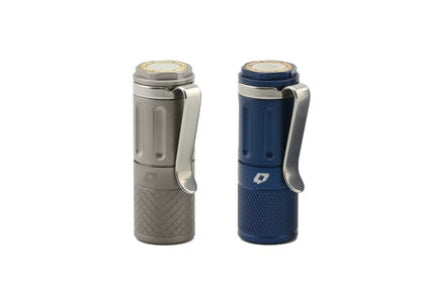
maintenance 1
Maintenance
In short, keep your threads and o-rings clean and lubricated if you want to maintain optimal performance for as long as possible.
All mechanical systems require regular maintenance to function properly. A flashlight is not exception. We get plenty of warranty claims that are from a lack of maintenance. Save us both some trouble!
Failing to properly maintain your light is like buying a car and never changing the oil. We sell (and recommend) Nano-Oil for lubricating o-rings and threads. It works great and has been extensively tested for o-ring compatibility. It’s the only thing I use on my lights.
> How to clean & maintain threads
- If your threads aren’t terribly dirty you can just use a DRY paper towel and/or Q-Tip to wipe down the threads.
- You don’t want to use cleaning fluids unless you must.
- Dirty threads can cause premature wear and inhibit the flow of electricity, leading to erratic behavior of the light.
- Allow parts to dry completely before reassembly.
- Reapply a light coat of oil. A few drops will suffice.
- Do not oil internal threads, only apply oil to external threads.
Deep Cleaning (head):
It’s critical that you don’t introduce moisture or oil into the electronics.
- Start with a dry toothbrush or Q-tip to remove the bulk of the contamination.
- If your threads are gritty and/or gunked up (from lack of maintenance naughty you) I like to use Simple Green, rubbing alcohol, or Windex (something that cuts grease & evaporates quickly).
- Put a small amount of cleaning solution on a Q-Tip or paper towel. Try to press the swab (or towel) into the threads to get down into the grooves.
- Allow parts to dry completely before reassembly.
- Do not oil internal threads, only apply oil to external threads.
Deep Cleaning (body):
- Normally I use a toothbrush for this. The body does not contain any electronics, so feel free to get after it.
- I still recommend an evaporating cleaner.
- Allow parts to dry completely before reassembly.
- Reapply a light coat of oil. A few drops will suffice.
Special Note - Alpha Flashlight Head threads:
- There is a tight fit between the driver mount and the head threads, so it requires a special technique.
- Take a Q-tip and mash the end flat with a pair of pliers. This will allow the Q-tip to fit between the threads and the copper post that holds the LED driver.
- Run the Q-tip clockwise several turns and then back it out counter clockwise.
- If you use a cleaner, allow parts to dry completely before reassembly.
Window:
- Optics people call that front glassy thingy the light shines through a "window," not a lens. Be careful when you clean it because it has a special anti-reflective coating.
- If you get too aggressive you can damage it. I actually use my hot breath and camera lens papers. Some solvents may damage the coating, so I prefer not to use any.
> How to clean & maintain o-rings
Spare o-rings are included with all Prometheus and Foursevens flashlights. You probably won't need them, but if the main seal ever breaks or tears, you'll have a replacement on hand.
A dry o-ring will become cracked and/or otherwise damaged during normal use. A lubricated o-ring will not. Damage will compromise water resistance and make your light difficult to operate.
Petroleum based lubricants should not be used because it will damage the o-ring. WD-40 is NOT a lubricant. It is a lubricated cleaning solvent...do not use it :)
- If your o-ring is dry and not dirty, you can just reapply a couple drops of oil. Enough to get smooth operation, but not so much that it drips everywhere. Excess oil attracts dirt…that you’ll have to clean later.
- For a full cleaning, simply remove the o-ring and clean as needed, being careful not to rip the o-ring with excessive force.
- An o-rings that is visibly damaged should be replaced. An o-ring does NOT need to be replaced unless it is damaged.
- Reapply a light coat of oil. A few drops will suffice.
- Reinstall the o-ring making sure it is not A twisted o-ring does not seal well and will accelerate damage.